
2.8
Owner's of the Acoustic Research Radio ARIR200 gave it a score of 2.8 out of 5. Here's how the scores stacked up:


EN
11
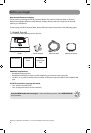
6. Set up the radio
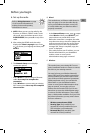
A. NOTE: When you turn on the radio for the
first time, it will be in "DEMO" mode. To exit
this mode, press and release preset 1, then
SLEEP/SNOOZE, then preset 6 on top of the
radio.
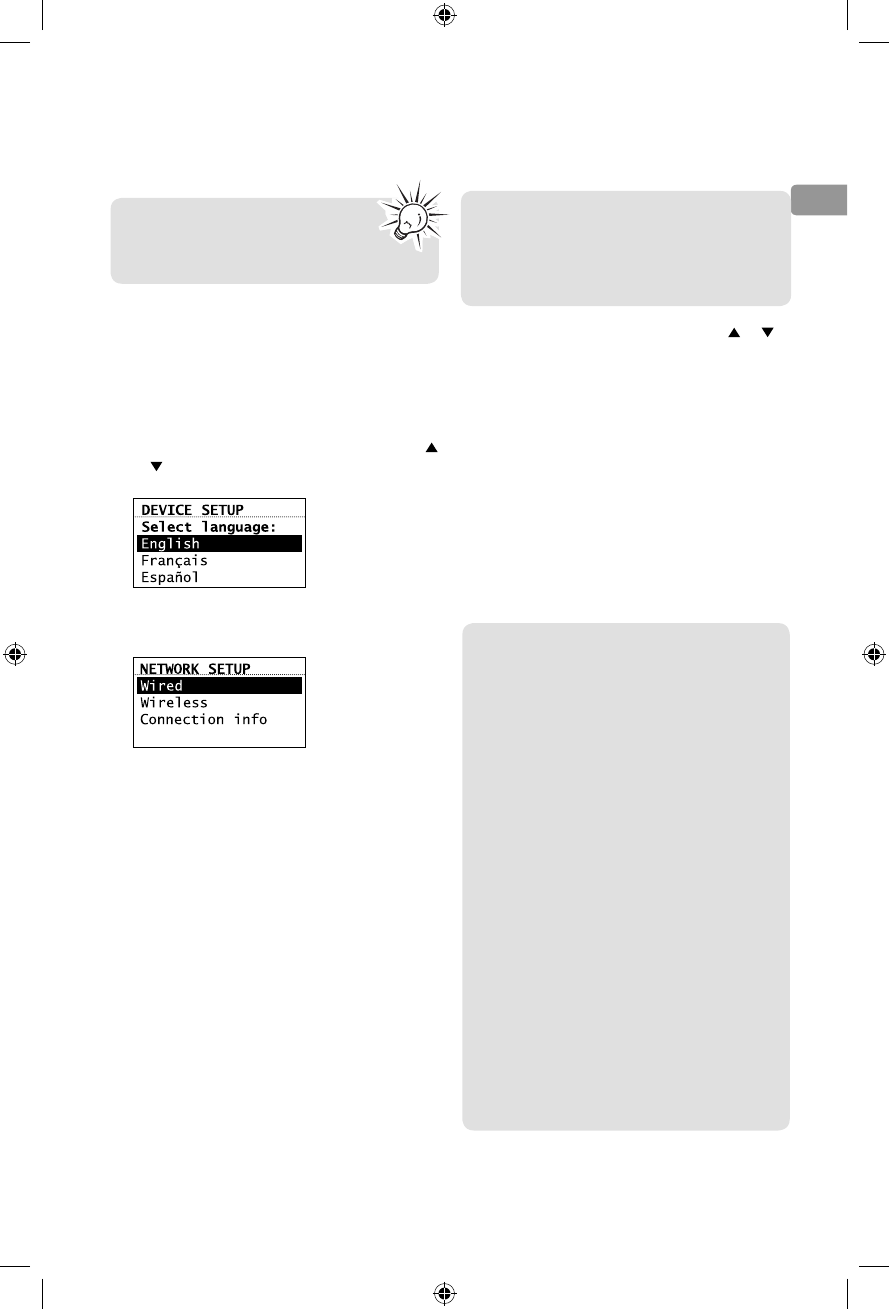
B. After exiting the DEMO mode, the radio
displays the Select Language screen. Press
or
to choose your language and then press
SELECT.
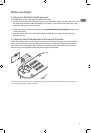
C. The Network Setup screen displays
connection options:
• Select Wired to connect using an Ethernet
cable. Go to step D to complete the
connection.
• Select Wireless to connect using an existing
Wi-Fi access point. Go to step E to complete
the connection.
Before you begin
Refer to Using the menus on page
15-16 for more information on
making choices and inputting
information in menus.
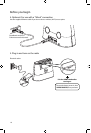
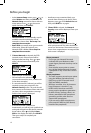
D. Wired
• At the Network Setup screen, press
or to
select Wired and then press SELECT if your
network does not provide Wi-fi access.
• Before the connection is complete, the radio
may take some time to check for updates and
retrieve account info from the server. Please
wait until you hear a short congratulations
message and "Setup is complete, enjoy the
music" is displayed.
• If the radio requires your IP address, you can
find this information on your broadband
modem, router or access point’s
administration setup page or manual.
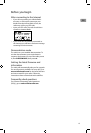
E. Wireless
This method uses an Ethernet cable shown in
step 4 on page 10 to wire the radio directly
up to your broadband modem, router, hub,
or switch. Make sure your Ethernet cable is
properly connected.
This method uses your existing Wi-Fi access
point, broadband modem or router to connect
the radio to your existing network.
You need to know your Wireless Network’s
name (SSID) and if your wireless network has
security enabled, you will also need to know
your wireless networks password (sometimes
called passphrase or key). You can find this
information on your broadband modem,
router or access point’s administration setup
page or manual. You may also call your
Internet Service Provider (ISP) if you do not
know how to access the administration page
in order to find this information. They usually
have a 1-800 number available. Once you have
the below information you may write it down
for future reference.
• Wireless network name (SSID)
• Security Type (Only needed if your
network has security enabled and your
SSID is hidden, not broadcasted)
• Password/Key (Only needed if your
network has security enabled)


Find Your Products By Category
- Communications
- Photography
- Portable Media
- Home Audio
- Kitchen Appliance
- Computer Equipment
- TV and Video
- Cell Phone
- Household Appliance
- Video Game
- Laundry Appliance
- Musical Instruments & Equipment
- Power Tools
- Automotive
- Car Audio and Video
- Outdoor Cooking
- Marine Equipment
- Lawn and Garden
- Personal Care
- Fitness & Sports
- Baby
Please Login
