
0
Owner's of the Metra Electronics Cell Phone 99-7609G gave it a score of 0 out of 5. Here's how the scores stacked up:
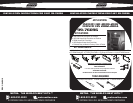
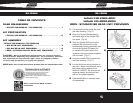
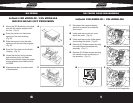
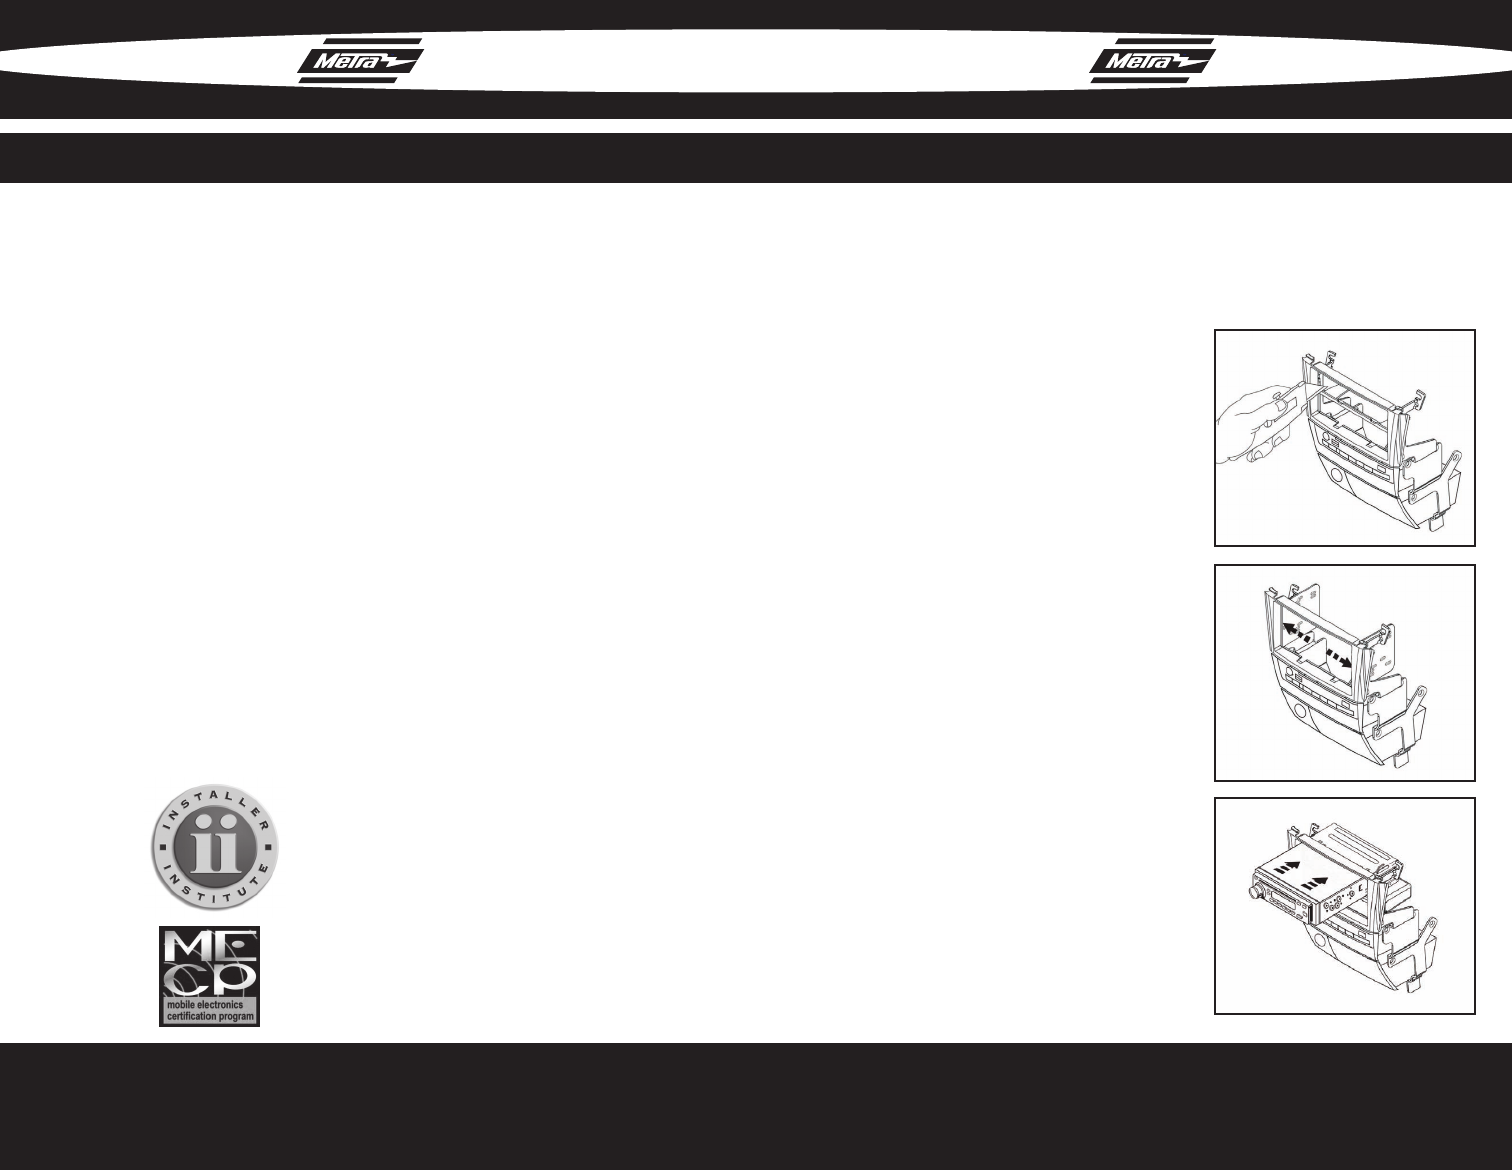
TABLE OF CONTENTS
DASH DISASSEMBLY
• INFINITI I30 2000-01 / I35 2002-04 . . . . . . . . . . . . . . 1
KIT PREPARATION
• INFINITI I30 2000-01 / I35 2002-04 . . . . . . . . . . . . . . 2
KIT ASSEMBLY
INFINITI I30 2000-01 / I35 2002-04
• DIN HEAD UNIT PROVISION . . . . . . . . . . . . . . . . . . . . 3
• ISO DIN HEAD UNIT PROVISION . . . . . . . . . . . . . . . . . 4
• DDIN / STACKED ISO DIN HEAD UNIT PROVISION . . . . . . 5
NOTE:
Refer Also to the instructions included with the aftermarket radio.
CAUTION: Metra recommends disconnecting the negative battery
terminal before beginning any installation. All accessories, switches,
and especially air bag indicator lights must be plugged in before
reconnecting the battery or cycling the ignition.
KNOWLEDGE IS POWER
Enhance your installation and fabrication skills by
enrolling in the most recognized and respected
mobile electronics school in our industry.
Log onto www.installerinstitute.com or call
800-354-6782 for more information and take steps
toward a better tomorrow.
99-7609G 99-7609G
Metra recommends MECP certified
technicians
Infiniti I30 2000-2001
Infiniti I35 2002-2004
DDIN / STACKED ISO HEAD UNIT PROVISION
Cut and remove the center bar from
the radio housing. (Fig. A)
Snap the Double DIN brackets to
the inside edge of the Double DIN
trim plate. (Fig. B)
Slide the Double DIN head unit or
stacked ISO head units into the
bracket/radio housing assembly and
secure the Double DIN head unit
or stacked ISO head units to the
assembly using the screws supplied
with the radio. (Fig. C)
Snap the double DIN trim plate into
the radio housing. (Fig. C)
Locate the factory wiring harness in
the dash. Metra recommends using
the proper mating adapter from
Metra or AXXESS. Re-connect the
negative battery terminal and test
the unit for proper operation.
Reassemble dash in reverse order
of disassembly.
1
2
3
A
B
C
4
5
6
5


Find Your Products By Category
- Communications
- Photography
- Portable Media
- Home Audio
- Kitchen Appliance
- Computer Equipment
- TV and Video
- Cell Phone
- Household Appliance
- Video Game
- Laundry Appliance
- Musical Instruments & Equipment
- Power Tools
- Automotive
- Car Audio and Video
- Outdoor Cooking
- Marine Equipment
- Lawn and Garden
- Personal Care
- Fitness & Sports
- Baby
Please Login
