
3.8
Owner's of the Magnavox VCR ZV427MG9 gave it a score of 3.8 out of 5. Here's how the scores stacked up:


76 EN76 EN
SETUPS
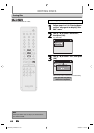
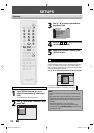
Press [STOP C] if you are playing back a disc.
1
Press [SETUP] and use [K / L] to
select “General Setting”, then press
[OK].
2
Use [K / L] to select “Video”, then
press [OK].
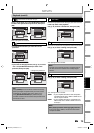
3
Use [K / L] to select a desired item,
then press [OK].
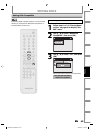
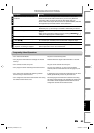
Progressive Scan
TV Aspect
Video Input
1
2
3
Submenu will appear.
4
Refer to
1
to
2
on page 76 and set
the selected item.
• For
3
refer to page 15.
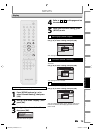
5
When you finish with setting, press
[SETUP] to exit.
Video
STANDBY-ON
TIMER SET
ABC DEF.@/:
JKL MNOGHI
TUV WXYZ
SPACETIMER CLEAR
SETUPDISC MENU
RETURNTITLE
TRACKING
VCRHDMI DVD
AUDIOREC
REC MODE D.DUBBING
PQRS
SOURCE
123
456
78
0
OK
+--
o
p
B
B
iji
C
F
gh
s
9
DISPLAY OPEN/CLOSE
A
I
SETUP
p
o
OK
B
C
s
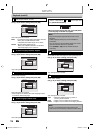
1
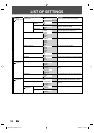
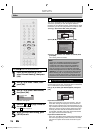
Progressive Scan (Default : OFF)
This unit is compatible with the progressive scan system.
The feature provides you with the higher definition
images than the traditional output system does. To utilize
this feature, you must set progressive scan mode to “ON”.
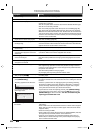
1) Use [K / L] to select “ON“, then press [OK].
General Setting
Playback
Display
Video
Recording
Clock
HDMI
Reset All
Progressive Scan
TV Aspect
Video Input
Progressive Scan
ON
OFF
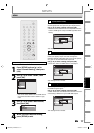
2) Use [{ / B] to select “Yes“, then press [OK].
General Setting
Playback
Display
Video
Recording
Clock
HDMI
Reset All
Progressive Scan
TV Aspect
Select Video
Progressive Scan
ON
OFF
Activating progressive scan:
Check your TV has progressive scan
and connect with component video cable.
NOTE :
Activate? Yes No
If there is no picture or picture is
distorted after selecting “Yes”,
Wait about 15 seconds for auto recovery.
3) Use [K / L] to select “Yes“ within 15 seconds, then
press [OK].
Your setting will be activated.
Note
• If your TV is compatible with progressive scan (525p /
480p), you are recommended to use the HDMI or
component video cable (commercially available) to
connect this unit to the TV. (Refer to “Method 2” on
page 16, or page 17.) If not, use the RCA video cable
and set the progressive scan to “OFF” or press and hold
[SETUP] for more than 3 seconds during DVD playback.
• When selecting “No” or not pressing any buttons on
the unit or remote control within 15 seconds at step 3,
progressive scan remains to be “OFF” (interlace scan).
2
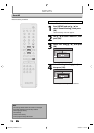
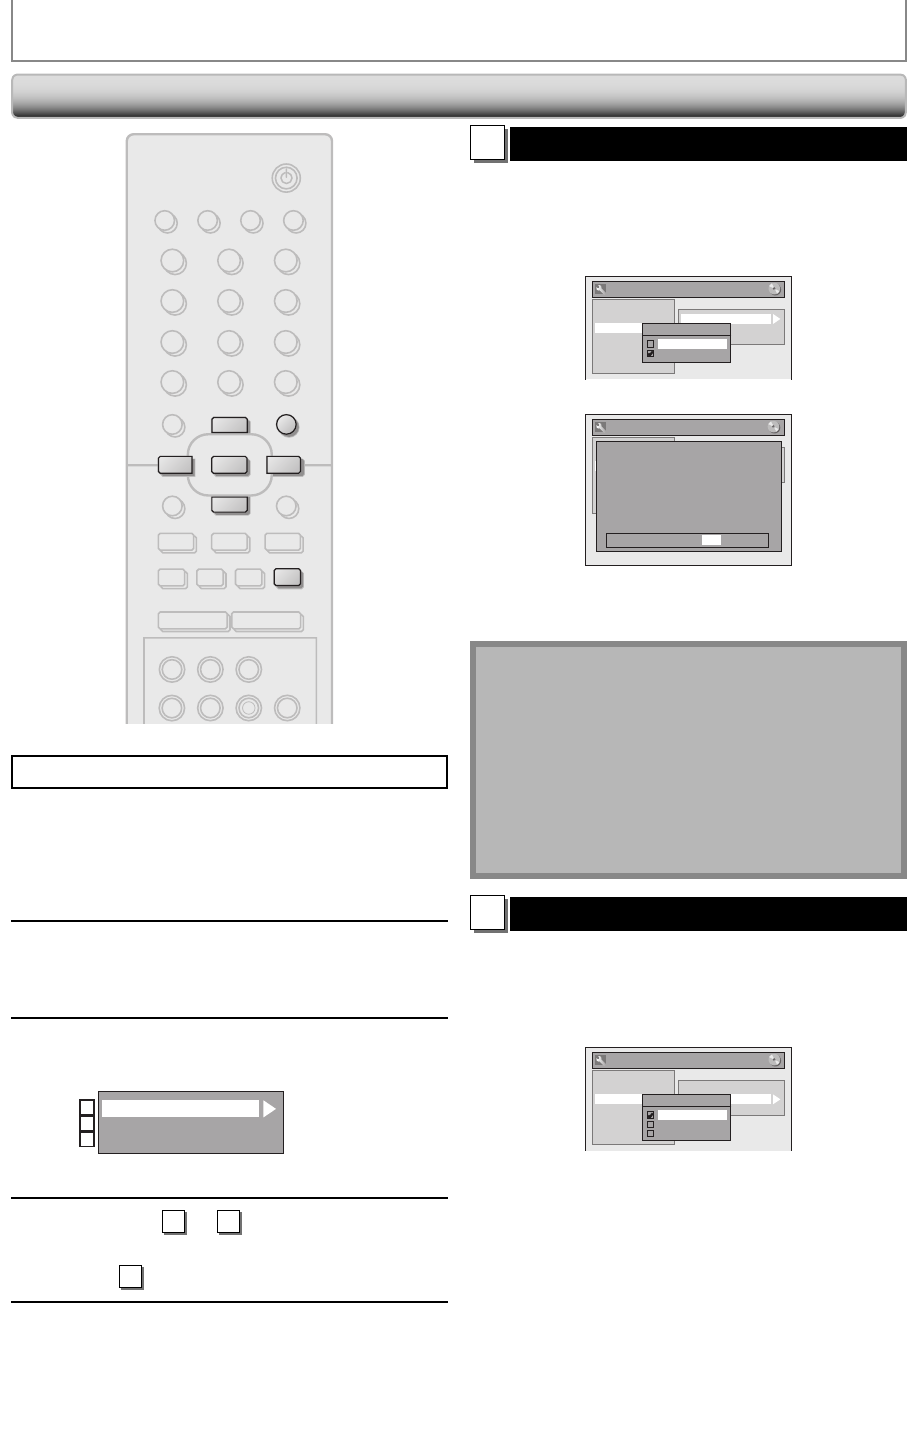
TV Aspect (Default: 4:3 Letter Box)
You should select the TV aspect ratio to match the TV you
are connecting to the unit. You either have a standard 4:3
TV or a widescreen TV (16:9 rectangular).
Use [K / L] to select your desired option, then press
[OK].
General Setting
Playback
Display
Video
Recording
Clock
HDMI
Reset All
Progressive Scan
TV Aspect
Video Input
TV Aspect
4:3 Letter Box
4:3 Pan & Scan
16:9 Wide
If you have a standard TV:
Select “4:3 Letter Box” or “4:3 Pan and Scan”. The “4:3
Letter Box” setting will display the entire widescreen
DVDs on your standard TV, by placing black bars at the
top and bottom of the picture, like a normal DVD player
does. The “4:3 Pan and Scan” setting will fill the screen
vertically, but both sides of the widescreen DVDs will
be trimmed. Standard video input and standard DVDs
will appear normal with either setting.
If you have a widescreen TV:
Select the “16:9 Wide” setting. Widescreen DVDs will fill
the screen appropriately. To watch standard 4:3 video,
use your TV’s aspect control to set the screen to your
liking.
E9E8BUD_ZV427MG9.indd 76E9E8BUD_ZV427MG9.indd 76 2008/03/27 13:32:392008/03/27 13:32:39


Find Your Products By Category
- Communications
- Photography
- Portable Media
- Home Audio
- Kitchen Appliance
- Computer Equipment
- TV and Video
- Cell Phone
- Household Appliance
- Video Game
- Laundry Appliance
- Musical Instruments & Equipment
- Power Tools
- Automotive
- Car Audio and Video
- Outdoor Cooking
- Marine Equipment
- Lawn and Garden
- Personal Care
- Fitness & Sports
- Baby
Please Login
