
0
Owner's of the Alesis Drums DM10 gave it a score of 0 out of 5. Here's how the scores stacked up:
29
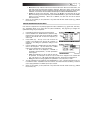
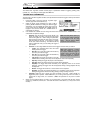
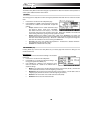
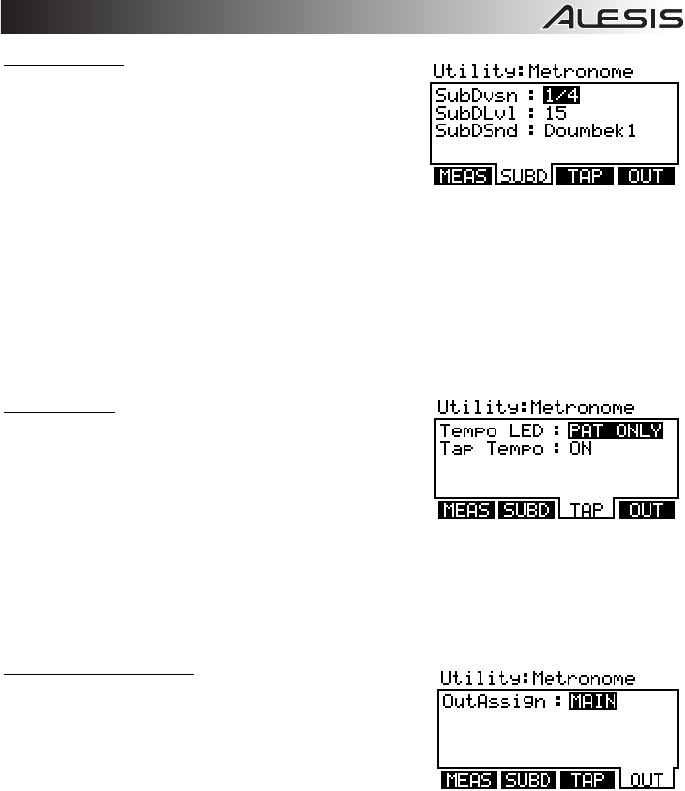
SUBDIVISION (F2)
This page lets you adjust settings for the subdivision metronome.
This is similar to the regular metronome but while the regular
metronome sounds every beat, the subdivision metronome
sounds during smaller intervals of each measure.
1. Press UTILITY to enter the main Utility Menu.
2. Press MTRO (F1) to access the metronome settings.
3. Press SUBD (F2) to access the subdivision metronome
settings.
4. Use CURSOR UP / DOWN to move through the menu items and VALUE UP / DOWN or the VALUE
DIAL to adjust the settings:
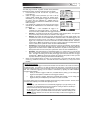
• SubDvsn: The length of each subdivision. The range includes 1/2, 1/4, 1/8, and 1/16 notes –
both regular and triplet. (Example: If the regular metronome is set to a 4/4 time signature and
"SubDvsn" is set to "1/8," you will hear the regular metronome on every 1/4 note as well as the
subdivision metronome on every 1/8 note.)
• SubDLvl: The volume level of the subdivision metronome sound (00-99). We recommend
keeping this volume relatively low so it is not confused with the regular metronome sound.
• SubDSnd: The sound of the subdivision metronome.
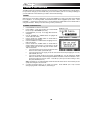
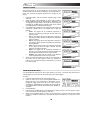
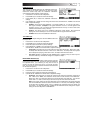
TAP TEMPO (F3)
This page lets you adjust settings for the TAP TEMPO button and
the tempo LED.
1. Press UTILITY to enter the main Utility Menu.
2. Press MTRO (F1) to access the metronome settings.
3. Press TAP (F3) to access the Tap Tempo settings.
4. Use CURSOR UP / DOWN to move through the menu items
and VALUE UP / DOWN or the VALUE DIAL to adjust the settings:
• Tempo LED: This setting lets you control when the tempo LED will be seen. When set to "ON,"
the tempo LED will flash all the time. When set to "PAT ONLY," the tempo LED will only flash
when a Sequence is playing. When set to "OFF," the tempo LED will never be seen.
• Tap Tempo: Enables or disables the TAP TEMPO button. Disabling it may be useful if you do
not want to make any unintentional changes to a Sequence's tempo.
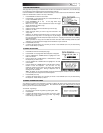
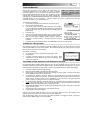
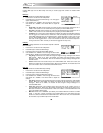
METRONOME ROUTING (F4)
This page lets you select the module's outputs through which the
metronome sounds will be sent. This can be useful for maintaining
two separate mixes. (For instance, you may want to have a
monitor mix with the metronome sent to you through the AUX
OUT, but you want to have a separate mix without the metronome
for the house PA system.)
1. Press UTILITY to enter the main Utility Menu.
2. Press MTRO (F1) to access the metronome settings.
3. Press OUT (F4) to access the metronome output settings.
4. Use VALUE UP / DOWN or the VALUE DIAL to adjust the settings:
• OutAssign: This setting lets you assign the output through which the metronome sound will be
sent. When set to "MAIN," the metronome will be sent out both channels of the MAIN OUT.
When set to "AUX," the metronome will be sent out both channels of the AUX OUT. You can also
select "AUX L" or "AUX R," which lets you send it out only one of the AUX OUT channels.
Note: If the "Output" setting on the main Utility Menu is set to "MAIN>AUX," this means the signal
sent out the MAIN OUT will also be sent out the AUX OUT. In this case, the "OutAssign" settings
for the AUX OUT will display "(N/A)" next to it, indicating the metronome will not be heard over
this channel. (To make the AUX OUT available for the metronome sound, change the "Output"
setting on the main Utility Menu to "MAIN&AUX."


Find Your Products By Category
- Communications
- Photography
- Portable Media
- Home Audio
- Kitchen Appliance
- Computer Equipment
- TV and Video
- Cell Phone
- Household Appliance
- Video Game
- Laundry Appliance
- Musical Instruments & Equipment
- Power Tools
- Automotive
- Car Audio and Video
- Outdoor Cooking
- Marine Equipment
- Lawn and Garden
- Personal Care
- Fitness & Sports
- Baby
Please Login
